
HTTPS - Part 2 : Implementation
HTTPS, implementation with Docker, Certbot & Nginx.

For lovers of Nordic mythology, Munin and Hunin are Odin's two ravens. They watch over every corner of Midgard and then report back to their master. The application we are interested in today bears its name well because it allows monitoring and reporting of the constants of your various servers, and is called Munin as well. After a quick presentation, we will take a look at the installation process and this tool's various use.
Munin is a self-hosted open-source application (code on GitHub) created in 2002 and still actively maintained today. It offers a lot of plugins to monitor many vital elements of your machines such as CPU or RAM usage, load-average or network interface usage. Everything is displayed via a simple and efficient web interface.
The software saves this information over time and allows a long term visualization of the evolution of the different metrics.
Lastly, it has the particularity to manage as many machines as you want thanks to a simple and easy to configure Master/Nodes system.
Let's proceed directly to the Master installation of Munin server itself:
sudo apt-get update
sudo apt-get install munin
Once this installation is complete, we can proceed to the configuration.
Munin's configuration can be found in the munin.conf file located in at /etc/munin. With your favorite text editor, open this configuration file to be able to see the first options we are interested in:
dbdir /var/lib/munin
htmldir /var/www/munin
logdir /var/log/munin
rundir /var/run/munin
The line we are interested in is the htmldir. It is in this folder that the static pages and images of the web interface will be stored. Feel free to configure this path according to your needs, depending on the installation of your web server (Nginx, Apache, ...).
The second part of the configuration we are interested in is located below, in the same file:
[localhost.localdomain]
    address 127.0.0.1
    use_node_name yes
This is where we will reference the master and the different nodes in order to monitor them. For example, I chose to rename my master as follows:
[ElevenMaster]
    address 127.0.0.1
    use_node_name yes
The name I chose, ElevenMaster, will be displayed on the web interface to describe my machine, in this case the Master of our Munin infrastructure.
All that's left to do is to save and close the configuration file then restart the Munin service to take into account this new configuration:
sudo service munin-node restart
The static files of the web interface should now be available in the folder indicated previously in the configuration (line htmldir):
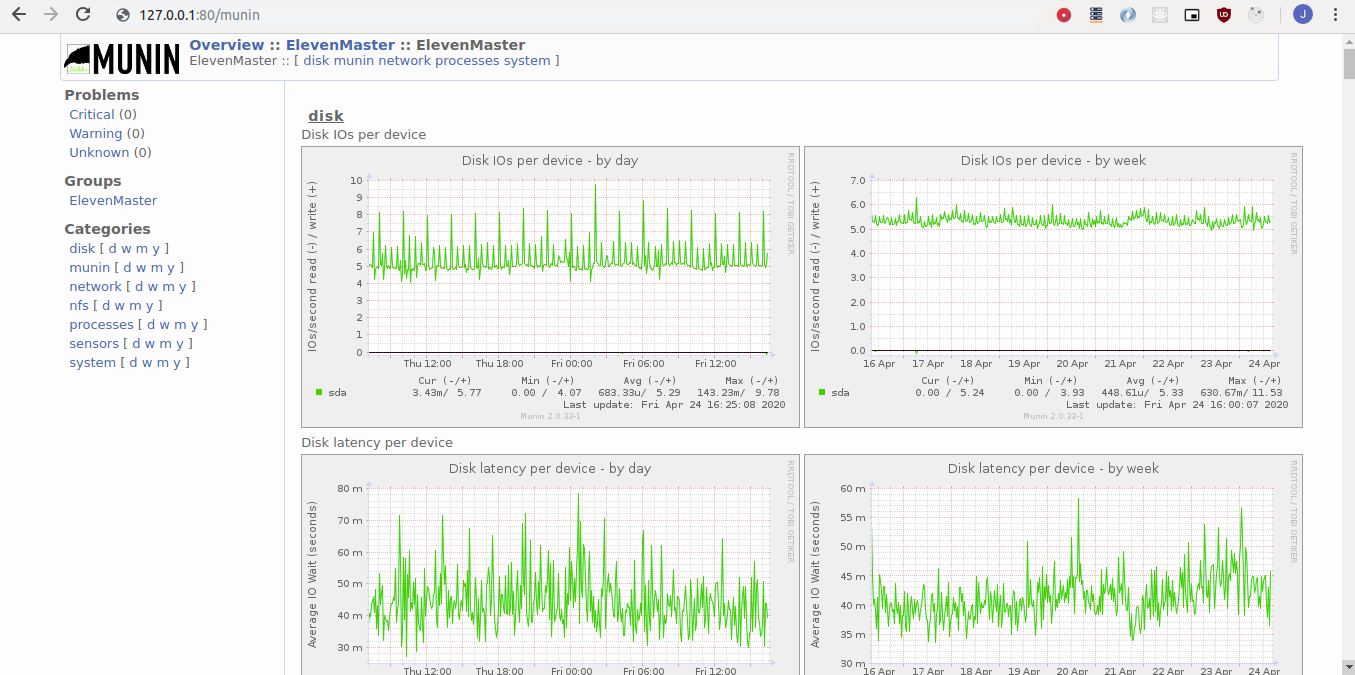
The monitoring of your "Master" machine is now set up. Now let's see what happens next.
The monitoring of your "Master" machine is now in place.
Munin's major takeaway lies in its ability to manage for you a multitude of machines without effort. On a second machine, you just need to install the munin-node package and then perform two small configurations: one on the Node side, the other on the Master side.
The installation of the package first of all:
sudo apt-get update
sudo apt-get install munin-node
You then need to configure the munin-node to authorize the Master to retrieve the required data. This is done in the configuration file /etc/munin/munin-node.conf, on the line authorizing the localhost:
allow ^127.0.0.1
This local IP must be replaced by the public IP of the Master server, in RegExp format, which would give for example:
allow ^145\.78\.309\.444$.
Now restart the Munin-node service to enable this configuration:
sudo service munin-node restart
Back to the Master for the last step. We need to add the Node in the list of monitored machines. In the Master configuration file (/etc/munin/munin.conf), add the Node following the Master declaration made previously. You will need to specify a name representing the Node and its IP address. Using our example from earlier:
[ElevenMaster]
    address 127.0.0.1
    use_node_name yes
[ElevenNode]
    address 267.117.81.341
    use_node_name yes
Save, close the configuration file and once again restart the Munin service to take into account this new Node:
sudo service munin-node restart
After a few minutes, by the time Munin retrieves the information from the newly added Node, you should see your second machine appear in the web interface:
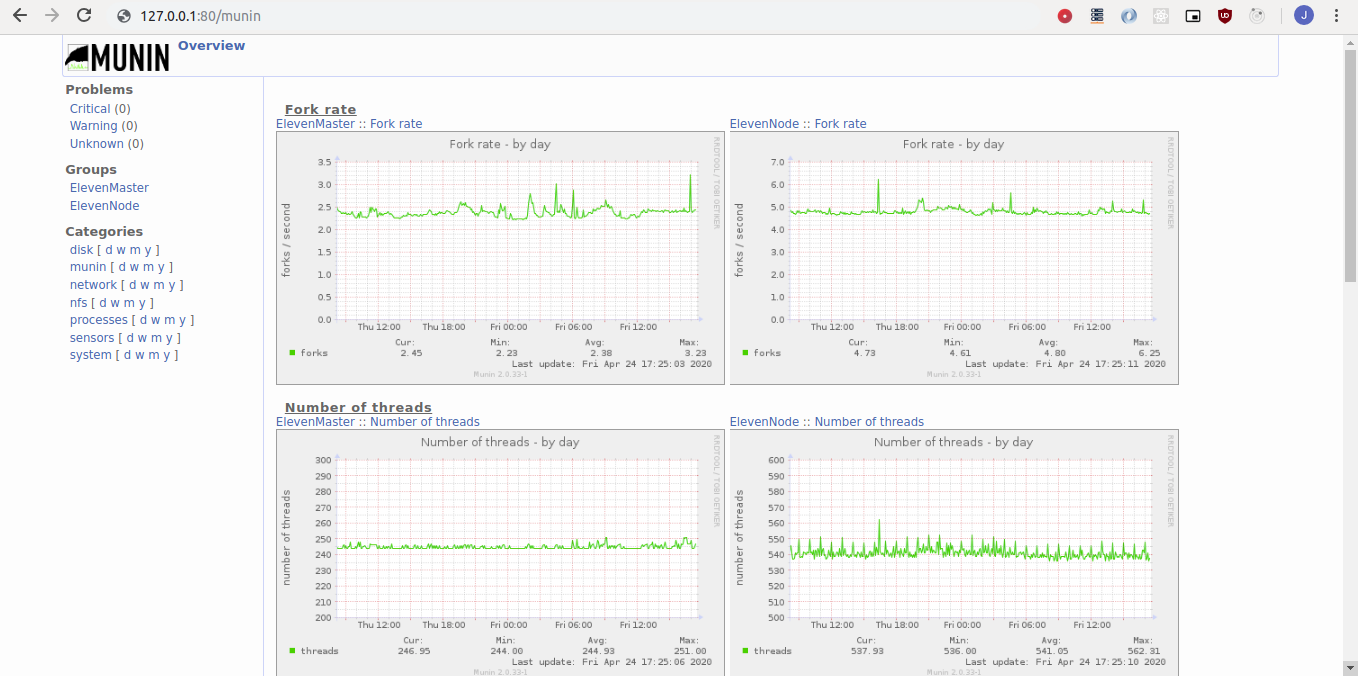
Your instance of Munin is now fully set up. You can configure specific monitoring tools (apache, mysql, nginx, etc) at any time, thanks to plugins from the community.
Author(s)
Jérémy Bernard
Mainly JavaScript and backend stuff.
You wanna know more about something in particular?
Let's plan a meeting!
Our experts answer all your questions.
Contact usDiscover other content about the same topic
HTTPS, implementation with Docker, Certbot & Nginx.
HTTPS, why & how you should set it up.
DASH & HLS, two protocols to stream them all.